Mastering DSLR Video: A Beginner’s Guide
DSLRs aren’t just for photography anymore. With their high-definition video capabilities, these cameras have become a favorite among professional videographers and hobbyists alike. If you’re new to DSLR video, don’t worry! Here’s a beginner’s guide to mastering the art.
Choosing a camera
First and foremost, you’ll need a DSLR camera that can shoot video. When choosing a camera, consider your budget, your needs, and your skill level. Many cameras offer different manual settings for video, but beginners may want to start with a camera that has an easy-to-use video mode. Some popular options include the Canon EOS Rebel T6i or the Nikon D3300.
Getting the right lenses
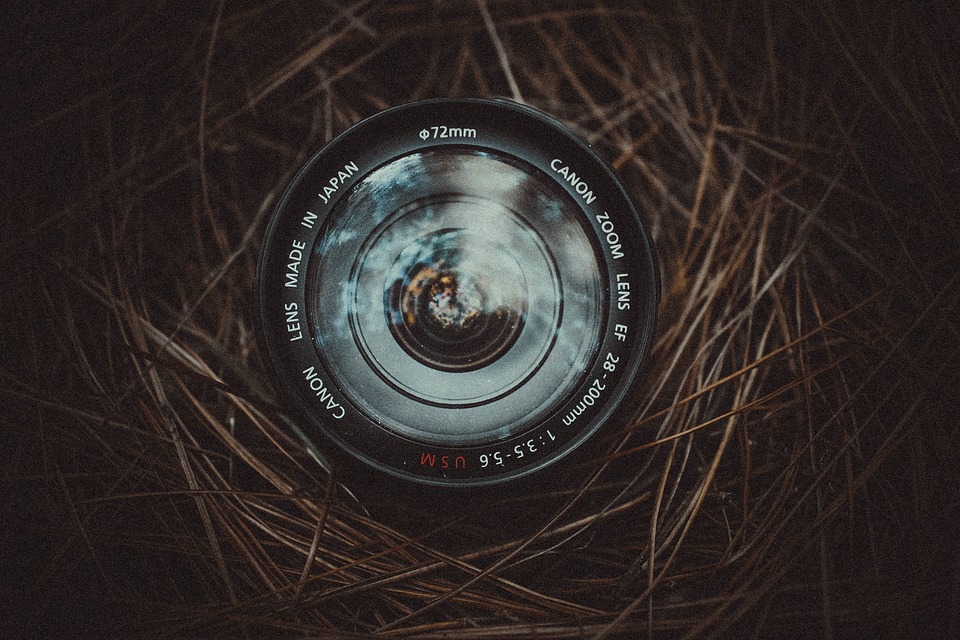
Lenses are just as important for video as they are for photography. When shooting video, you’ll want to use lenses with a wide aperture to let in as much light as possible. A lower f-number (like f/1.4 or f/2.8) means a wider aperture and better low-light performance. Some popular lenses for video include the Canon EF 50mm f/1.8 II and the Sigma 18-35mm f/1.8 DC HSM.
Using manual focus
Although many DSLRs have autofocus systems that work well for photography, they can be slow and noisy when shooting video. To avoid unwanted noise and focus hunting, it’s best to use manual focus when shooting video. Some cameras have a built-in focus peaking feature, which highlights the areas of the frame that are in focus, making it easier to manually focus.
Adjusting exposure
Exposure is just as important for video as it is for photography. But instead of adjusting the exposure for each photo, you’ll need to adjust it for the entire video. The key is to make sure the exposure is consistent throughout the entire clip. Some cameras have built-in exposure compensation, but it’s best to shoot in manual mode for more precise control.
Using tripods and stabilizers
Unlike photography, video requires a steady hand, or in this case, a stable platform. The best way to achieve this is to use a sturdy tripod or a stabilizer. This will eliminate any shaking or jarring movement, resulting in smoother video footage. Some popular options include the Manfrotto 055 Series Tripod and the DJI Ronin-S.
Capturing quality sound
Audio is just as important as video. To capture quality sound, you’ll need to use an external microphone. Although some cameras have built-in microphones, they often pick up unwanted background noise and don’t provide the best sound quality. Consider purchasing a directional microphone like the Rode VideoMic or the Shure VP83F LensHopper.
Editing your footage
Once you’ve captured your footage, it’s time to edit it. There are many software options available, from free programs like iMovie and Lightworks, to more advanced editing suites like Adobe Premiere Pro and Final Cut Pro X. Remember to keep the pacing of your video in mind and aim for a total length of two to three minutes.
In conclusion, mastering DSLR video can be a daunting task, but with these tips and a bit of practice, you’ll be creating professional-looking videos in no time. Remember to choose the right camera, use the right lenses, adjust your exposure, stabilize your footage, capture quality sound, and edit your footage to create a cohesive final product. Happy filming!
